Demo · JStats 1.0.7
JStats in practice – a quick demo
What actually happens after you enable the plugin? A short tour with the standard configuration.
The standard setup at work
With the default configuration, the workflow is exactly as short as the promise: paste the tracking code from Matomo or Google Analytics into the plugin settings, enable, save. From that moment, every front-end page carries the snippet in its head section – and your first own visit shows up in the analytics tool (in Matomo: Visitors → Visits Log).
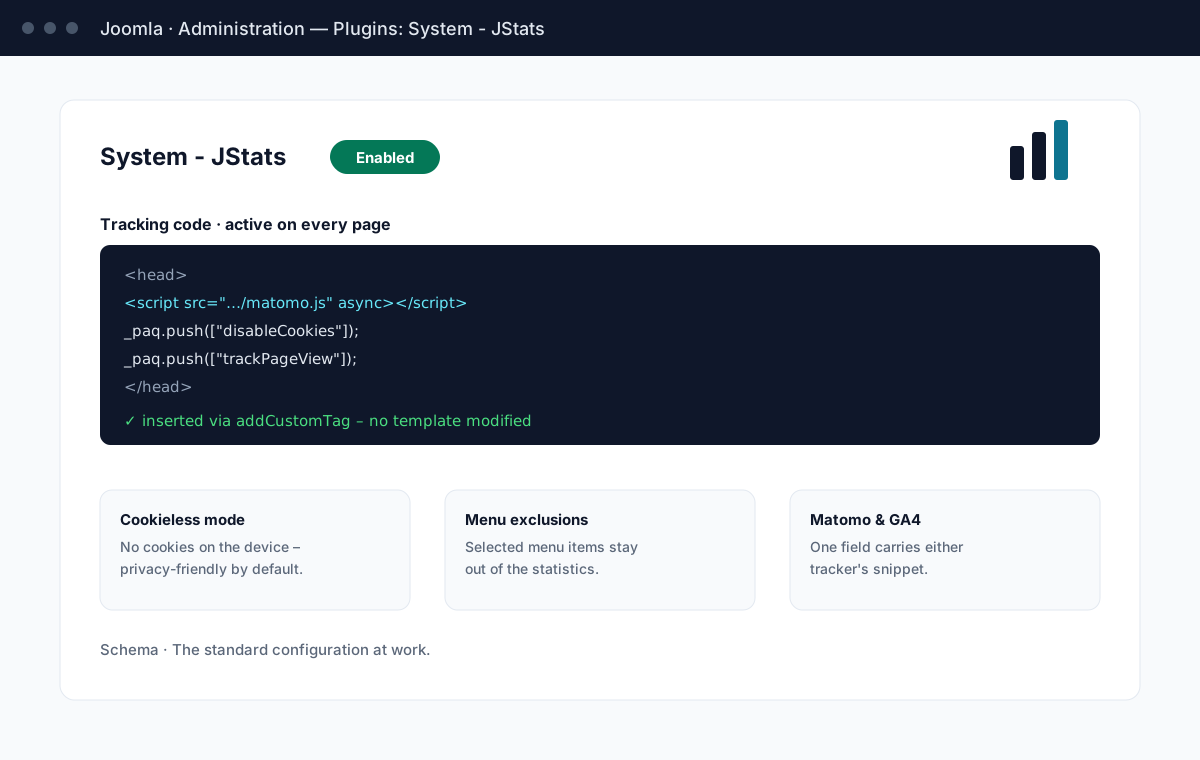
Excluding menu items
The most-used option in practice: keeping selected pages out of the statistics – internal areas, legal pages, thank-you pages with their own measurement.
- Open the plugin settings in the Joomla backend.
- Select the menu items to exclude – hold Ctrl (Windows) or Cmd (Mac) to pick several.
- Save. The selected menu items no longer receive the tracking code.
That is all – you keep full control over what enters your analytics data, per menu item, without touching a template.
If nothing shows up
No visits in your analytics after setup? In nine of ten cases it is the Joomla cache or a copy-paste slip in the tracking code. The support page has the short checklist – and if it does not help, an email reaches a human: 301@seo-manager.info.